Preconditions
VirtualBox is installed. Download link.
Ubuntu 16.04 server is downloaded. Download link.
Creating a virtual machine
1. Run VirtualBox and click 'New' button.
2. Specify virtual machine name.
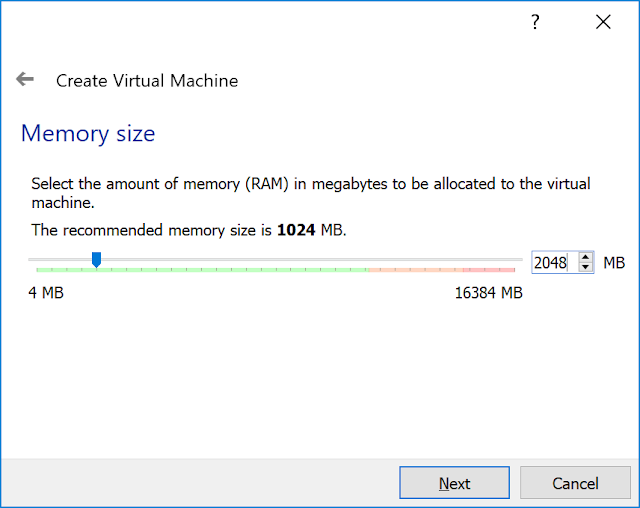
3. Set RAM (Depending on your purpose it could be any value).
4. Select 'Create a virtual hard drive now'.
5. Select VDI.
6. Select 'Dynamically allocated'.
7. VirtualBox tries to store the image of the hard drive on disk C, so I recommend to change that and save the image on another logical hard drive.
8. Click 'Create' button.
Installing Ubuntu 16.04 server
1. Select the virtual machine and click 'Settings' button on the left top corner of the window.
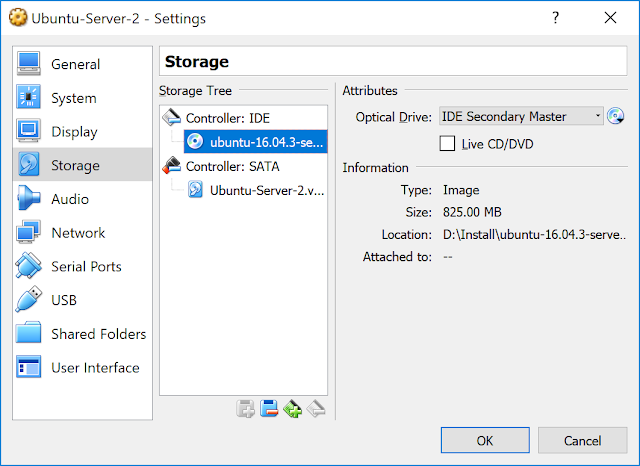
2. Open 'Storage' settings → for IDE controller select download Ubuntu 16.04 image.
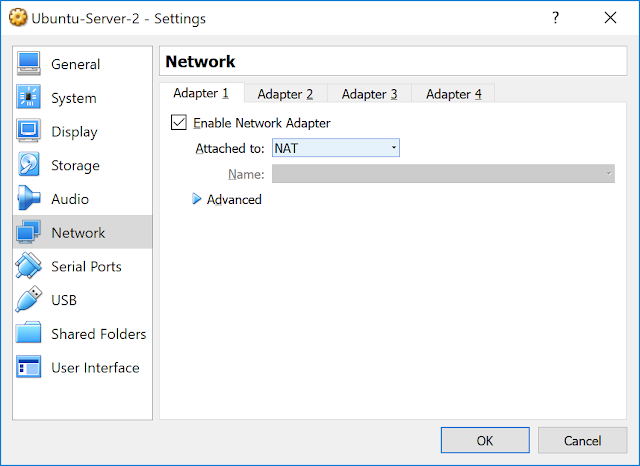
3. Make sure that network settings have 'Attached to' set as NAT. We need this for ubuntu installation, in other mode operation apt-get might not work (see Troubleshooting section for more info).
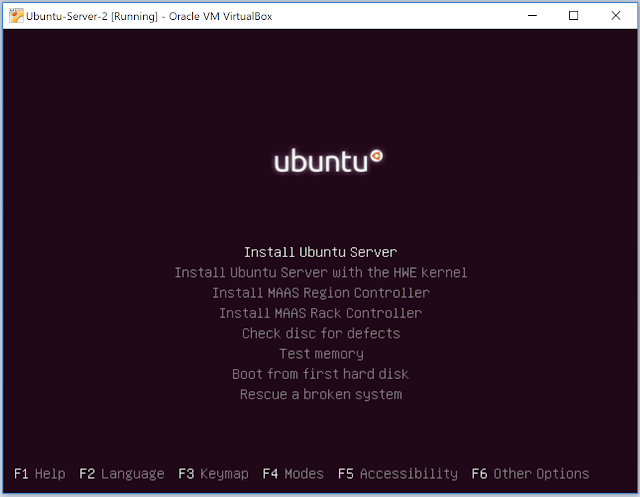
4. Start the virtual machine and follow Ubuntu installation instructions, they are pretty straightforward.
Configuring the virtual machine to work on the local network with internet access.
Now we are ready to configure our virtual machine. To do that follow instructions below:
1. Select the virtual machine and click 'Settings' button on the left top corner of the window.
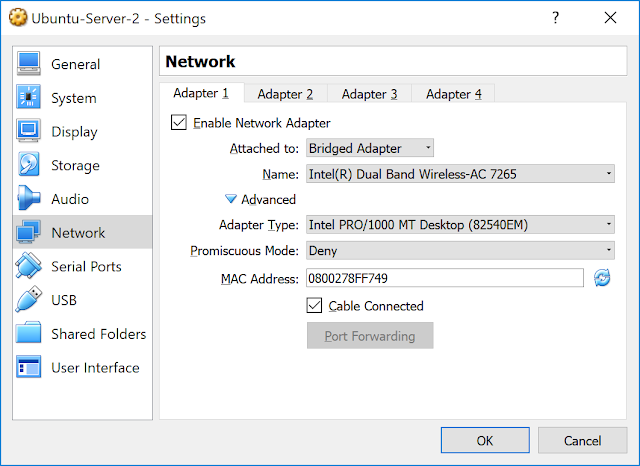
2. Open 'Network' settings → in 'Attached to' select 'Bridged Adapter'.
3. Boot the server.
4. Open /etc/network/interfaces with any text editor.
5. Set Ip address and DNS server for the server using the following configuration (NOTE: change IP address in case you are configuring multiple servers).
sudo nano /etc/network/interfaces
5. Set Ip address and DNS server for the server using the following configuration (NOTE: change IP address in case you are configuring multiple servers).
# The loopback network interface
auto lo
iface lo inet loopback

# The primary network interface
auto <your network>
iface <your network> inet static
        address 192.168.1.2
        netmask 255.255.255.0
        gateway 192.168.1.1
        dns-nameservers 75.75.75.75 75.75.76.76
        dns-search local
Troubleshooting
1) If apt-get command does not work due to IPv6 issue. Please follow instructions below to fix it.
https://askubuntu.com/a/787491/733897
https://askubuntu.com/a/787491/733897

