Introduction
Some build workflows in Jenkins require the display. If you run the build of Java application in console following exception might happen.
Exception in thread "main" java.lang.InternalError: Can't connect to X11 window server using '' as the value of the DISPLAY variable.
I found a solution how to fix it using
Xvfb.
Installation of Xvfb
1. To install Xvfb run following command in terminal.
sudo apt-get update
sudo apt-get install xvfb
Installation of Xvfb Plugin
1. I have an assumption that Jenkins is installed and running on Ubuntu 16.04. Please follow
installation instructions to install Jenkins in case you do not have running Jenkins.
If plugin configured incorrectly you might have the following exception:
ERROR: No Xvfb installations defined, please define one in the configuration. Once defined you’ll need to choose one under Advanced options for Xvfb plugin job settings and save job configuration.
To fix it:
1. Navigate to Manage Jenkins → Global Tool Configuration → Xvfb installation
2. Set Name:
Xvfb
3. Set Directory in which to find Xvfb executable:
/usr/bin
Troubleshooting
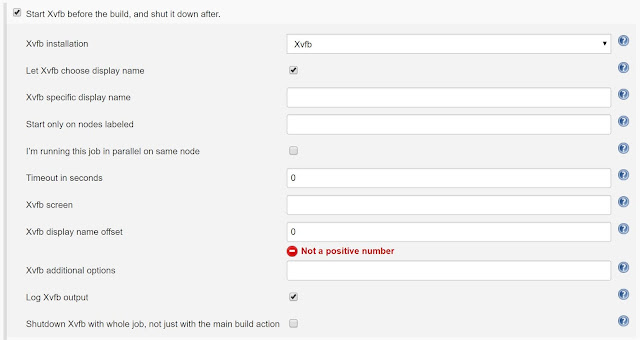
1. In case you still have the issue, try to play with the configuration of 'Start Xvfb before the build, and shut it down after.' step. E.g.


